
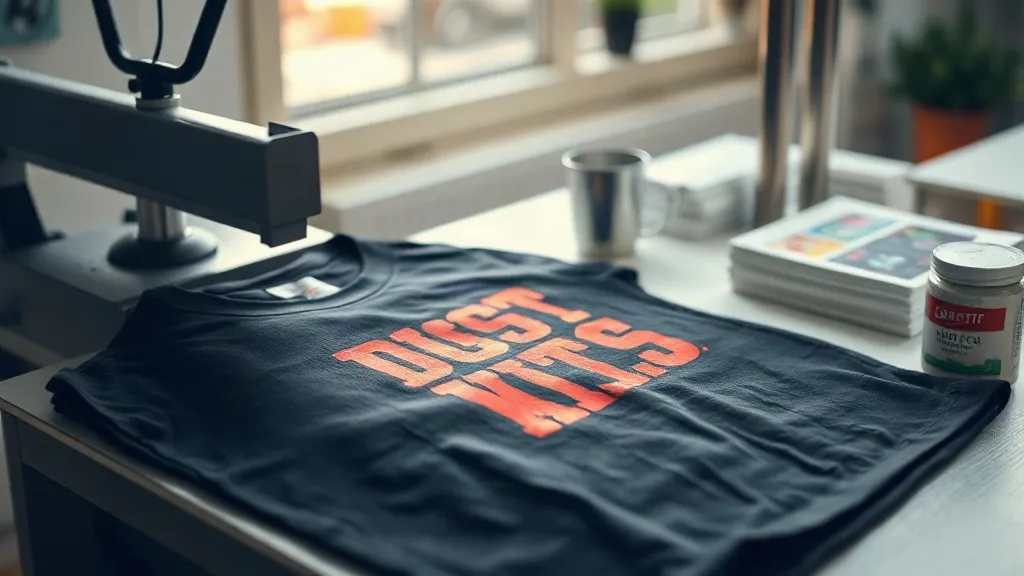
If you have ever tried to print a detailed, multi-colored design onto a dark t-shirt using traditional heat transfer methods, you know the frustration of limited color options and complicated weeding. Enter dtf transfers, a game-changing technology that has taken the custom apparel world by storm. Unlike vinyl or sublimation, DTF (Direct to Film) printing allows you to transfer incredibly intricate designs onto almost any fabric, with vibrant colors that pop and a soft feel that lasts. In this guide, we will walk you through everything you need to know about DTF transfers, from the science behind them to practical application tips that ensure professional results every time.
What Are DTF Transfers?
DTF transfers are a type of heat-applied decoration where your design is printed onto a special PET film using a DTF printer. The printer lays down a layer of white ink as a base, followed by CMYK inks to create the full-color image, and finally a powdered hot-melt adhesive is applied to the wet ink. This adhesive becomes the bonding agent when you heat press the transfer onto a garment. The result is a durable, stretchable, and incredibly detailed print that adheres to cotton, polyester, blends, and even treated nylon. Because the design is printed on a film, you can produce highly detailed artwork with gradients, fine lines, and photographic elements without the need for cutting or weeding.
Why Choose DTF Transfers Over Other Methods?
When you compare DTF to other decoration methods like screen printing, DTG, or vinyl, several advantages stand out. First, DTF does not require color separations or screens, making it cost-effective for short runs and one-off designs. Second, it works on a wide range of fabrics, including dark and light colors, without needing pre-treatment. Third, the prints are extremely durable; they resist cracking, peeling, and fading even after multiple washes. Finally, DTF transfers offer a soft hand feel that is comfortable to wear, unlike the thick, plastic-like texture of some vinyl transfers.
Cost-Effective for Small Businesses
For small business owners and hobbyists, DTF transfers eliminate the need for expensive equipment like screen printing presses or DTG printers. You can order custom transfers from a supplier or print your own with a DTF printer and heat press. This low barrier to entry means you can offer custom apparel without a huge investment.
Unmatched Versatility
Whether you are decorating cotton t-shirts, polyester sports jerseys, canvas bags, or denim jackets, DTF transfers adhere beautifully. They are also ideal for hard-to-print items like caps, socks, and even shoes, as long as the surface can withstand the heat press temperature.
The DTF Transfer Process: Step by Step
Applying DTF transfers is straightforward, but following the correct steps is crucial for a professional finish. Here is a detailed walkthrough.
1. Prepare Your Design and Printer
Start with a high-resolution image. DTF printers require the design to be mirrored before printing, as the film is placed face-down onto the garment. Load your DTF printer with the appropriate film (usually a PET film with a matte or glossy side) and ensure the white ink and CMYK inks are properly filled. Print the design onto the film.
2. Apply Adhesive Powder
While the ink is still wet, sprinkle the hot-melt adhesive powder evenly over the printed area. Shake off any excess, then place the film in a curing oven or under a heat source to melt the powder. The powder should turn from a sandy texture to a smooth, glossy layer. This step is critical; insufficient powder leads to poor adhesion.
3. Preheat Your Heat Press
Set your heat press to the recommended temperature, typically between 300°F and 330°F (150°C to 165°C). Use medium to high pressure. Pre-press the garment for a few seconds to remove moisture and wrinkles, which helps the transfer bond evenly.
4. Position and Press
Place the transfer film onto the garment with the printed side facing down (the adhesive side touching the fabric). Cover with a Teflon sheet or parchment paper to protect the press. Press for 10-15 seconds. Avoid moving the transfer during pressing.
5. Peel and Finish
After pressing, allow the transfer to cool completely before peeling off the film. This is known as a cold peel. Peel slowly at a low angle. For extra durability, you can press the garment again for a few seconds with a Teflon sheet after peeling.
Common Mistakes to Avoid with DTF Transfers
Even though DTF is forgiving, some pitfalls can ruin your results. Here are the most common ones and how to avoid them.
- Insufficient pressure: Without enough pressure, the adhesive won't fully penetrate the fabric, leading to premature peeling. Adjust your press and test.
- Wrong temperature: Too low and the adhesive won't activate; too high and you can scorch the fabric or the film. Always follow the transfer supplier's recommendations.
- Not pre-pressing: Moisture in the fabric can create steam pockets that prevent proper adhesion. Always pre-press for 5-10 seconds.
- Peeling too soon: Hot peeling can stretch the design and leave adhesive residue. Wait until it's cool to the touch.
DTF Transfers vs. Other Heat Transfer Methods
To help you decide if DTF is right for your project, let's compare it to two popular alternatives: vinyl and DTG.
DTF vs. Vinyl
Vinyl transfers require weeding, which is time-consuming and limits design complexity. DTF transfers can handle full-color images with gradients and fine details without any weeding. Vinyl is also limited to one color per layer, while DTF prints multiple colors in one go. However, vinyl can be more cost-effective for simple one-color designs.
DTF vs. DTG
DTG (Direct to Garment) printing is excellent for 100% cotton fabrics, but it requires pre-treatment and can struggle with polyester. DTF works on both cotton and polyester, and often produces more vibrant colors on dark garments. DTG has a softer feel on light shirts, but DTF is more versatile overall.
Expert Tips for Perfect DTF Transfers
After years of working with DTF transfers, I've picked up a few tricks that make a big difference. First, always store your unused transfers in a cool, dry place away from direct sunlight; humidity can cause the adhesive to clump. Second, when pressing, use a heat press rather than an iron for consistent pressure and temperature. Third, if you're using a home iron, you'll need to apply firm pressure and move slowly, but results may vary. Fourth, test your settings on a scrap piece of fabric before pressing your final garment. Finally, for stretchy fabrics like spandex, use a stretchable DTF film and post-press to improve elasticity.
Frequently Asked Questions About DTF Transfers
How long do DTF transfers last?
With proper application and care, DTF transfers can last as long as the garment itself. They withstand 50+ washes without fading, cracking, or peeling when washed inside out in cold water and tumble dried on low.
Can I apply DTF transfers to 100% polyester?
Yes, DTF transfers work excellently on polyester. In fact, they often produce better results on polyester than DTG. Just be mindful of the heat setting to avoid scorching.
Do I need a special printer to make DTF transfers?
You need a DTF printer that uses DTF inks and film. However, if you don't want to invest in a printer, you can order custom DTF transfers from a supplier and apply them with a heat press.
What is the best temperature for pressing DTF transfers?
Most DTF transfers require a temperature between 300°F and 330°F (150°C to 165°C) with medium to high pressure for 10-15 seconds. Always check the instructions provided by your transfer supplier.
Can I layer DTF transfers?
Yes, you can layer DTF transfers, but it's best to press each layer separately and use a lower temperature for the top layers to avoid remelting the adhesive. Alternatively, design your artwork with all elements in one transfer.
DTF transfers have opened up a world of possibilities for custom apparel. Whether you're a small business owner looking to offer unique products or a DIY enthusiast wanting to create personalized gifts, mastering DTF transfers can set your creations apart. With the right techniques and a bit of practice, you'll achieve professional, vibrant, and long-lasting results that impress.