
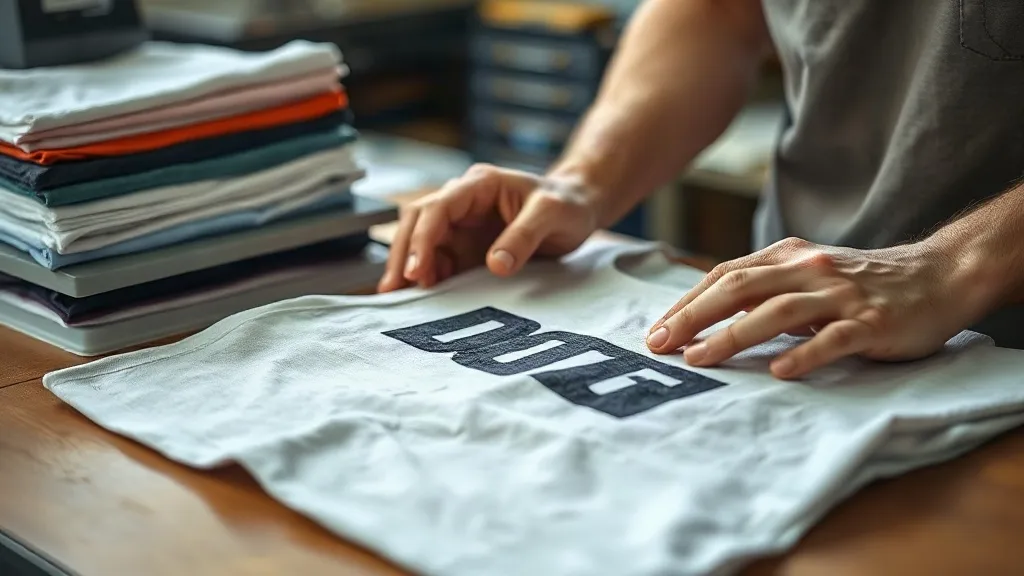
You've dialed in your press settings, your dtf transfers look crisp coming off the film, and the colors pop. Yet a few washes later, cracks appear, edges lift, or the print feels stiff and plasticky. The culprit is often not the transfer itself but the fabric it's pressed onto. In the world of dtf printing, the garment is not a passive canvas; it's an active partner in the process. Fiber content, weave, weight, and even color can make or break a print's durability and hand feel. This guide dives into the nitty-gritty of fabric selection and preparation, giving you the know-how to choose blanks that accept dtf transfers near me flawlessly and stand up to real-world wear.
Why Fabric Matters More Than You Think
DTF transfers are versatile, but they're not magic. The adhesive powder that melts into the fabric needs something to grab onto. Different fibers respond differently to heat and pressure. For instance, cotton's natural fibers are absorbent and textured, providing excellent mechanical grip for the adhesive. Polyester, on the other hand, is smooth and hydrophobic, which can lead to poor adhesion if not handled correctly. Blends fall somewhere in between, and their behavior depends on the ratio of fibers. Understanding these nuances helps you predict how a print will perform and avoid costly mistakes.
Fiber Content: The Foundation of Print Durability
100% Cotton: The Gold Standard
Cotton is the most forgiving fabric for DTF. Its porous surface allows the adhesive to penetrate slightly, creating a strong bond. Prints on cotton tend to feel soft and stretch with the garment. However, not all cotton is equal: ring-spun cotton offers a smoother surface for fine details, while open-end cotton has more texture that can affect resolution. Pre-shrunk cotton is ideal because it minimizes shrinkage after washing, which can stress the print. Always check for fabric finishes or softeners that might interfere with adhesion; some fabric softeners leave a residue that acts as a release agent.
Polyester: High Rewards, High Risks
Polyester is popular for sportswear and performance apparel, but it's tricky for DTF. The smooth, non-porous fibers offer little mechanical grip, so the adhesive relies more on chemical bonding. Low-quality polyester can also bleed dyes when heated, especially reds and blues, which can migrate into the white ink layer and discolor the print. To mitigate this, look for polyester with a tight weave and colorfast dyes. Some printers use a lower pressing temperature for polyester to avoid dye migration, but that can compromise adhesion. The key is to test each batch of shirts before production.
Blends: The Middle Ground
50/50 cotton-poly blends are common and generally print well, combining cotton's grip with polyester's durability. Tri-blends (cotton, polyester, rayon) are softer and stretchier, which can be both a blessing and a curse: the print stretches with the fabric, but if the adhesive isn't flexible enough, it may crack. Rayon's cellulose fibers absorb moisture differently, so pre-treatment might be necessary. Always conduct a stretch test after pressing to ensure the print moves with the fabric.
Weave and Weight: The Hidden Variables
The weave structure affects how the adhesive interacts with the fabric. Tightly woven fabrics like poplin provide a smooth surface for fine details, but the adhesive may struggle to penetrate, leading to poor wash durability. Looser weaves like jersey knit allow the adhesive to encapsulate fibers, improving bond strength, but they can also cause the print to sink in, reducing sharpness. Fabric weight plays a role too: heavier fabrics (e.g., 6 oz) can absorb more heat and pressure, requiring adjustments to press settings. Lighter fabrics (e.g., 4 oz) may need lower pressure to avoid crushing the fibers.
Color and Dye Migration: When the Background Fights Back
Dark garments are popular for DTF because the white ink layer provides opacity. However, dark dyes, especially sublimated polyester, can migrate into the white ink when heated. This is known as dye migration, and it results in a dull, discolored print. To combat this, choose fabrics labeled as "dye-blocking" or "colorfast." Additionally, using a lower pressing temperature and a shorter dwell time can reduce migration. Some printers pre-wash garments to remove excess dye, but this adds a step and may affect fabric hand.
Pre-Treatment: Setting the Stage for Success
Proper preparation is crucial for consistent results. Start by pre-washing garments to remove sizing, softeners, and manufacturing residues. A simple cycle with mild detergent and no fabric softener suffices. Dry the garment completely before pressing; moisture trapped in fibers can turn to steam and cause adhesion failures. For fabrics prone to dye migration, consider a pre-press to evaporate surface dyes. Also, lint roll the surface to remove fibers that could get trapped under the transfer. Finally, ensure the garment is flat and wrinkle-free; wrinkles prevent even pressure distribution.
Matching Transfers to Fabrics: A Practical Checklist
- Test before production: Press a sample transfer on each fabric type and perform a wash test (at least 3 cycles) to check for cracking, peeling, or fading.
- Consider stretch: For stretchy fabrics, use a transfer with a flexible adhesive and press at a lower temperature to maintain elasticity.
- Check heat tolerance: Some synthetics, like nylon or spandex, can scorch or melt at typical DTF temperatures (around 300°F). Use a heat transfer pillow or lower temp.
- Account for shrinkage: Pre-shrink garments or choose pre-shrunk blanks to avoid print distortion after washing.
- Mind the texture: Rough fabrics like burlap or heavy canvas may require a higher pressure to push the adhesive into the fibers, but be careful not to flatten the texture.
Common Fabric-Related Pitfalls and How to Avoid Them
Pitfall 1: Using Fabric Softener Before Printing
Fabric softener coats fibers with a lubricating film that prevents the adhesive from bonding. Always wash new garments without softener and avoid dryer sheets.
Pitfall 2: Ignoring Fabric Blends in Care Labels
A shirt labeled "100% cotton" might have a poly blend in the thread or trim. These small areas can cause uneven adhesion. Check the care label and test if unsure.
Pitfall 3: Over-Pressing Delicate Fabrics
Delicates like rayon or silk blends can be crushed or scorched. Use a lower temperature and a pressing cloth to protect the fabric.
Frequently Asked Questions
Can I use DTF transfers on 100% polyester shirts?
Yes, but you need to manage dye migration and adhesion. Use a low-temperature transfer, pre-test for color bleeding, and consider a poly-blocker underlayer if the shirt is dark.
How do I prevent the print from cracking on stretchy fabrics?
Choose a transfer with a flexible adhesive and press at a temperature that allows the adhesive to flow without fully curing (around 280-300°F). Also, ensure the fabric isn't over-stretched during pressing.
Do I need to pre-wash garments before pressing DTF transfers?
It's highly recommended to remove sizing and residues. Use a mild detergent and avoid fabric softener. Dry completely before pressing.
What's the best fabric for beginners to start with DTF?
100% cotton is the most forgiving due to its porous nature and predictability. Start with mid-weight cotton tees to build confidence.
How can I tell if a fabric will cause dye migration?
Check the care label for "colorfast" or "dye-blocking" claims. Do a test press with a white transfer and inspect for discoloration after 24 hours.