
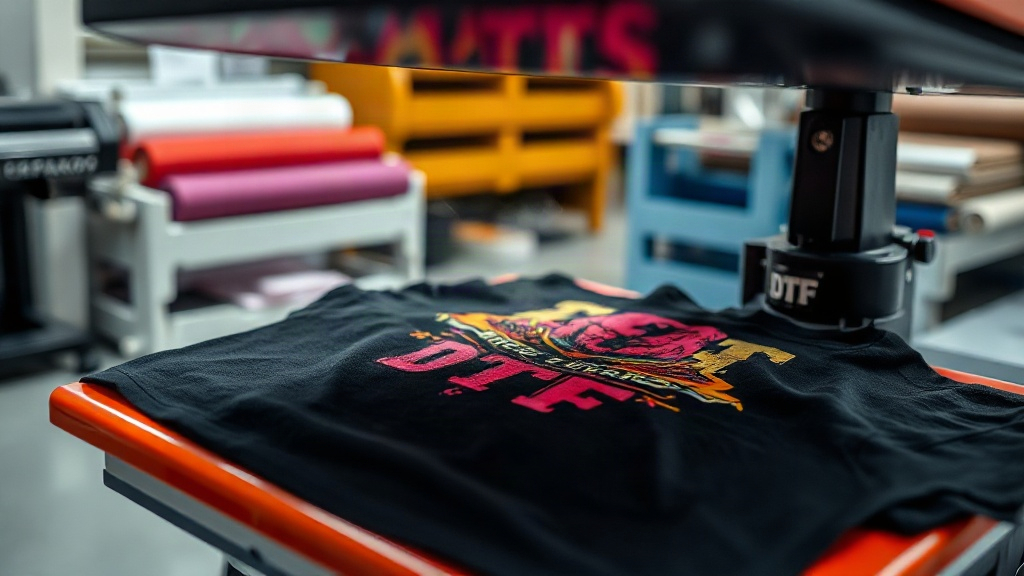
If you have ever admired a custom t-shirt with a vibrant, detailed graphic that seems to be part of the fabric itself, chances are it was created using DTF transfers. This printing method has taken the custom apparel world by storm, and for good reason. Unlike traditional techniques that limit you to certain materials or colors, DTF transfers work on almost any fabric, from cotton and polyester to blends and even leather. Whether you are a small business owner looking to offer custom products or a DIY enthusiast wanting to personalize your wardrobe, understanding DTF transfers can open up a world of creative possibilities.
In this guide, we will walk you through the entire DTF process, from preparing your artwork to applying the transfer and caring for the finished product. We will also share insider tips to help you avoid common pitfalls and achieve professional-looking results every time. By the end, you will have the knowledge to confidently use DTF transfers for your next project.
What Are DTF Transfers?
DTF stands for Direct to Film. It is a printing technology where your design is printed onto a special film, coated with a powder adhesive, and then heat-pressed onto the fabric. The magic of DTF lies in its versatility: because the design sits on top of the fabric rather than being dyed into it, you can print on dark colors, light colors, and a wide range of materials without needing multiple screens or special pretreatment.
The process begins with a digital printer that uses CMYK plus white ink. The white ink acts as a base, allowing the colors to pop even on black or navy garments. After printing, the film is dusted with a thermoplastic powder, which becomes the adhesive when heated. This powder is what bonds the ink to the fabric during the heat press stage.
One of the biggest advantages of DTF transfers is that they do not require weeding. Unlike vinyl, there is no excess material to remove, which saves time and reduces waste. This makes DTF an excellent choice for intricate designs with fine details or small text.
Why Choose DTF Transfers Over Other Methods?
You might be wondering how DTF compares to screen printing, DTG (Direct to Garment), or vinyl. Each method has its strengths, but DTF shines in several areas:
- Fabric versatility: DTF works on cotton, polyester, blends, spandex, leather, and more. DTG, for example, typically requires 100% cotton for best results.
- No color limitations: You can print white ink on dark garments without a separate underbase screen. This means full-color designs on black shirts are as easy as on white.
- Durability: When applied correctly, DTF transfers withstand repeated washing without fading, cracking, or peeling. They are known for their stretchability, making them ideal for activewear.
- Cost-effective for small batches: Unlike screen printing, which requires separate screens for each color, DTF has no setup fees per color. This makes short runs and one-offs affordable.
- Speed: Once you have a printed film, you can press it in seconds. No drying time or complex curing is needed beyond the initial press.
Of course, DTF is not perfect for every scenario. For very large orders, screen printing might be more economical. But for custom, small-batch, or full-color work, DTF is hard to beat.
Step-by-Step Guide to Applying DTF Transfers
Getting a perfect DTF transfer requires attention to detail. Follow these steps to ensure a smooth, professional finish.
1. Prepare Your Workspace and Materials
You will need a heat press, your DTF transfer film, the garment, and a lint roller or cloth. A heat press is essential because it provides even pressure and temperature, which a household iron cannot replicate. Set your heat press to the recommended temperature, usually between 300°F and 325°F (150°C to 160°C). Pre-press the garment for a few seconds to remove moisture and wrinkles. This step is often overlooked but crucial for proper adhesion.
2. Position the Transfer
Place the DTF transfer on the garment with the printed side facing up. If your design is directional, make sure it is oriented correctly. You can use heat-resistant tape to hold it in place if needed. For precise placement, measure from the collar or use a template.
3. Press the Transfer
Apply firm pressure (medium to high) for 10 to 15 seconds. The exact time can vary depending on your press and film type, so always check the instructions provided by your transfer supplier. After pressing, allow the garment to cool completely before peeling the film. This is a critical step: peeling too early can cause the design to lift or distort.
4. Peel and Post-Press
Once cool, peel the film away slowly and evenly. You should see the design transferred cleanly onto the fabric. For added durability, especially on stretchy fabrics, cover the design with a parchment paper or Teflon sheet and press again for 5 to 10 seconds. This second press ensures the adhesive fully cures and the design conforms to the fabric.
Common Mistakes to Avoid with DTF Transfers
Even experienced crafters can run into issues. Here are the most common pitfalls and how to steer clear of them:
- Insufficient pressure: If the pressure is too low, the transfer will not adhere properly and may peel off after washing. Make sure your press is adjusted correctly.
- Wrong temperature: Too hot and the film may scorch or the ink may bleed; too cold and the adhesive won't activate. Always follow the recommended settings.
- Peeling too soon: Patience is key. Let the transfer cool completely before peeling. If you are impatient, you risk ruining the design.
- Ignoring fabric type: While DTF works on many fabrics, some specialty fabrics like nylon or treated water-resistant materials may require a different approach or additional adhesive. Test on a scrap piece first.
- Poor storage: Store unused DTF transfers in a cool, dry place away from direct sunlight. Moisture and heat can damage the powder adhesive.
By avoiding these mistakes, you will achieve consistent, high-quality results that impress your customers or friends.
Caring for Your DTF Printed Garments
To keep your DTF transfers looking vibrant and intact, follow these care instructions:
- Wait at least 24 hours before washing the garment to allow the adhesive to fully set.
- Turn the garment inside out before washing.
- Use cold water and a gentle cycle.
- Avoid bleach and fabric softeners, which can degrade the adhesive.
- Tumble dry on low or hang to dry. High heat can cause cracking.
- If ironing is needed, do not iron directly on the design. Use a cloth or parchment paper between the iron and the print.
With proper care, your DTF prints can last as long as the garment itself, maintaining their color and elasticity.
Frequently Asked Questions About DTF Transfers
Can I use DTF transfers on 100% polyester?
Yes, DTF transfers work exceptionally well on polyester. In fact, they are often preferred over DTG for polyester because DTG requires a pretreatment that can be tricky on synthetic fabrics. DTF adheres to polyester without special pretreatment, and the prints remain stretchable and vibrant.
How long do DTF transfers last?
When applied correctly and cared for properly, DTF transfers can last for the lifetime of the garment. They are resistant to cracking, peeling, and fading. The key is to follow the recommended pressing parameters and washing instructions.
Do I need a special printer for DTF?
Yes, DTF printing requires a dedicated DTF printer that uses DTF inks (CMYK plus white) and prints onto PET film. You cannot use a standard inkjet or laser printer. However, you can purchase pre-printed DTF transfers from suppliers if you don't want to invest in a printer.
What is the difference between DTF and DTG?
DTG (Direct to Garment) prints directly onto the fabric, while DTF prints onto a film that is then transferred. DTF offers greater fabric versatility and does not require pretreatment, but DTG can be more cost-effective for 100% cotton items in large quantities. DTF also allows for printing on dark colors without a white underbase.
Can I layer DTF transfers?
Yes, you can layer DTF transfers to create multi-color or multi-layer designs. Press the first transfer, peel, then press the second on top. Just be mindful of the thickness and adjust pressure and time accordingly.
DTF transfers have revolutionized custom apparel by making it accessible to print full-color, durable designs on almost any fabric. With the right tools and a bit of practice, you can achieve professional results that rival screen printing. Whether you are starting a business or personalizing gifts, DTF is a skill worth mastering. For high-quality DTF transfers and supplies, visit dtfproexpress.com.